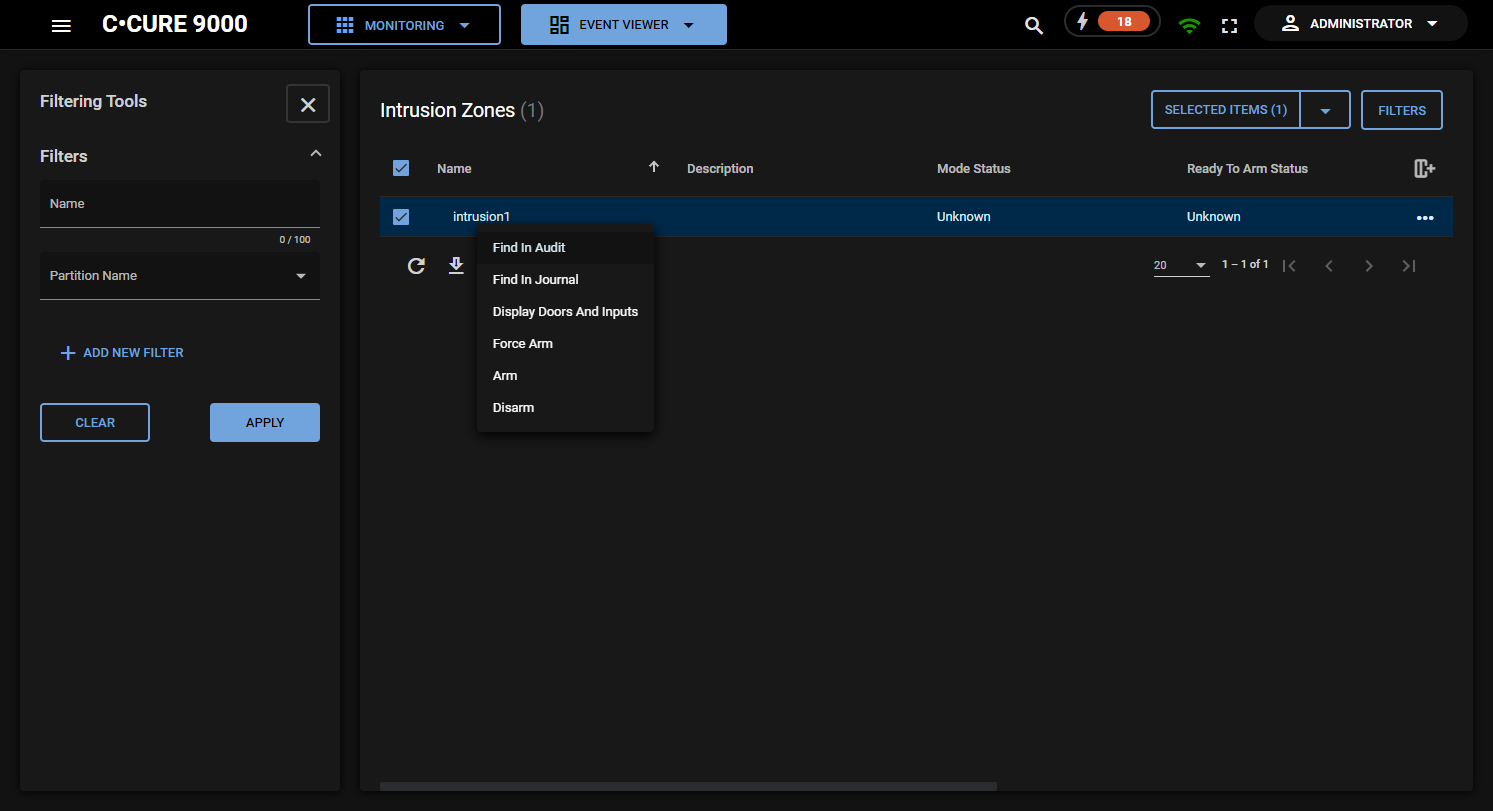
Intrusion Zones tab context menu options
You can use the context menu to complete different operations on intrusion zones. To access the context menu, right-click an intrusion zone from the list. Some operations can be performed on multiple selected intrusion zones simultaneously.

See the following table for more information on the context menu options for intrusion zones.
| Option | Description |
|---|---|
| Find in Audit | Select this option to open a Query Parameters dialog box where you can search for entries in the Audit Log that reference the selected object. The search results are displayed in a separate dynamic view. |
| Find in Journal | Select this option to open a Query Parameters dialog box where you can search in the Journal for records of activity (messages) that reference the selected event. The search results are displayed in a separate dynamic view. |
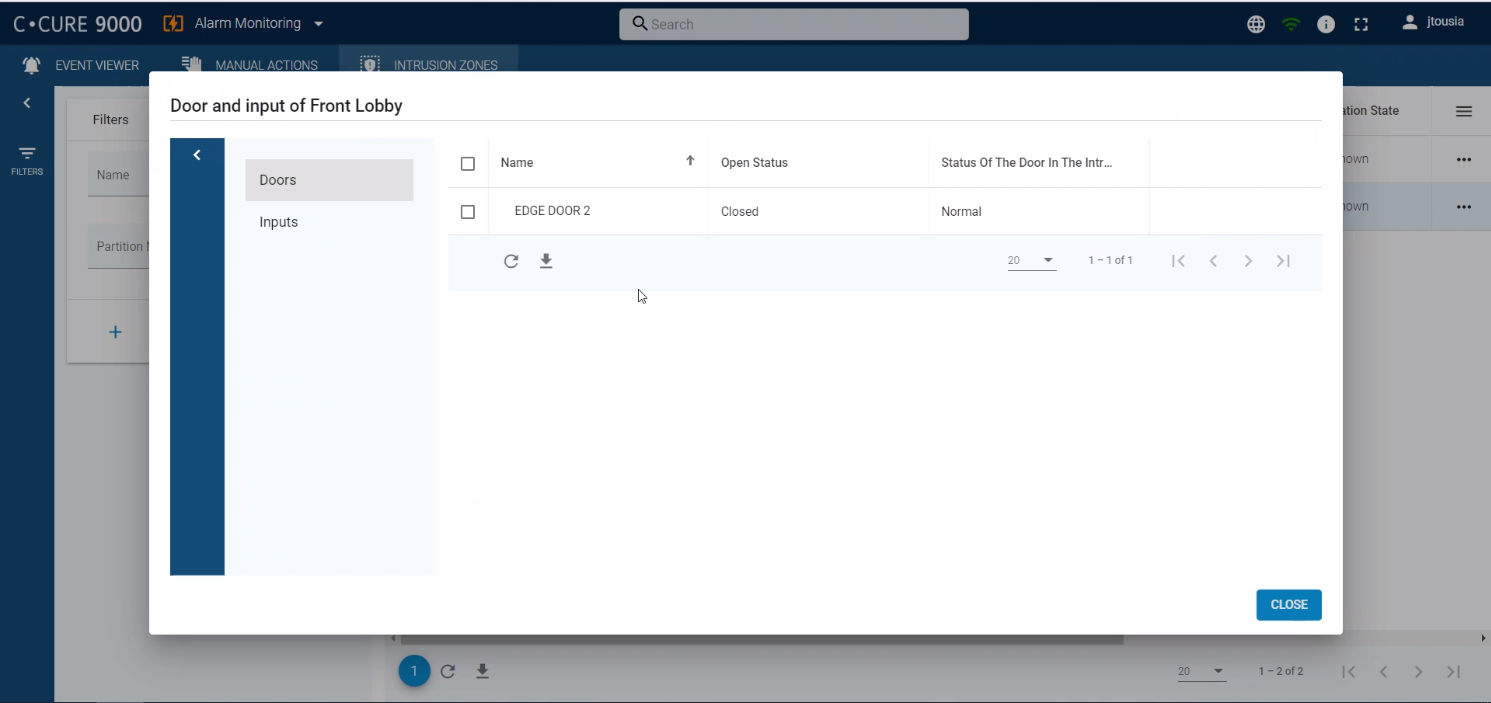
| Display Doors And Inputs | Select this option to open the
Doors and Inputs of [selected Intrusion Zone] dynamic view. These lists include
respectively all of the selected Intrusion Zone’s Doors and its Controlled and
Monitored Inputs. By default, the dynamic views show the name of the Doors and
Inputs, and their Intrusion Zone Status. For more information about viewing
doors and inputs, refer to the C•CURE Areas and Zones Guide. You can also right-click any column heading to view a list of other available Door/Input fields that can display as columns. For more information, refer to the Dynamic Views chapter in the C•CURE 9000 Data Views Guide. |
| Force Arm | Select this option to force arm
the selected Intrusion Zone. Note: This
option is available only if the iSTAR Intrusion Zone’s Controller is
enabled.
|
| Arm | Select this option to arm the
selected Intrusion Zone. Note: This
option is available only if the iSTAR Intrusion Zone’s Controller is
enabled.
|
| Disarm | Select this option to disarm the
selected Intrusion Zone. Note: This
option is available only if the iSTAR Intrusion Zone’s Controller is
enabled.
|

